Appearance
Ōgashira, the Colossal Skull
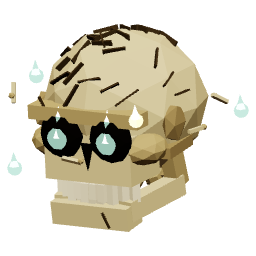
Boss
| Stat | Value |
|---|---|
| Health | 15,500–43,500 |
| Power | 198–558 |
| Defense | 74–206 |
| Speed | 9.5 m/s |
| Aggro radius | 16 m |
| Material |  Ōgashira's Tooth |
Health, power and defense: from the lowest to the highest level it is met at. Inside a gate the monsters take the level of the first one in, and their stats and experience follow that level; health and power grow by half for every further party member.
Where
- Haunted castle rank C
- Haunted castle rank B
- Haunted castle rank A
- Haunted castle rank S
Attacks
| Attack | Shape | Range | Wind-up | Cooldown | Damage | Effects | Warning |
|---|---|---|---|---|---|---|---|
| Skull Bite | Melee strike | 3.8 m | 0.34 s | — | 150% of power | — | No |
| Skull Roll | Charge, 2 m wide | 5–16 m | 0.62 s | 9 s | 200% of power | Stunned 1.2 s | Yes |
| Spectral Breath | Cone, 70° | 10 m | 0.68 s | 8 s | 220% of power | Burning 4 s | Yes |
| Skull Slam | Area around itself, 7 m | 6 m | 0.79 s | 12 s | 200% of power | Stunned 1.5 s | Yes |
Below 60% health
Speed ×1.15, power ×1.2. Summons 2× 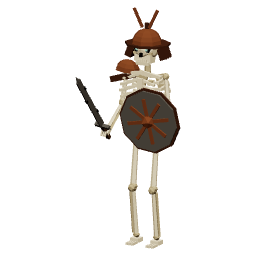 Honebushi.
| Attack | Shape | Range | Wind-up | Cooldown | Damage | Effects | Warning |
|---|---|---|---|---|---|---|---|
| Skull Bite | Melee strike | 3.8 m | 0.34 s | — | 150% of power | — | No |
| Skull Roll | Charge, 2 m wide | 5–16 m | 0.62 s | 9 s | 200% of power | Stunned 1.2 s | Yes |
| Spectral Breath | Cone, 70° | 10 m | 0.68 s | 8 s | 220% of power | Burning 4 s | Yes |
| Skull Slam | Area around itself, 7 m | 6 m | 0.79 s | 12 s | 200% of power | Stunned 1.5 s | Yes |
| Bone Barrage | Areas under up to 4 players, 3 m each | 22 m | 0.74 s | 9 s | 200% of power | — | Yes |
Below 25% health
Speed ×1.3, power ×1.45. Summons 2× 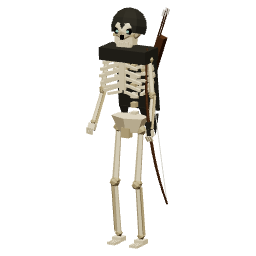 Honeyumi.
| Attack | Shape | Range | Wind-up | Cooldown | Damage | Effects | Warning |
|---|---|---|---|---|---|---|---|
| Skull Bite | Melee strike | 3.8 m | 0.34 s | — | 150% of power | — | No |
| Skull Roll | Charge, 2 m wide | 5–16 m | 0.62 s | 9 s | 200% of power | Stunned 1.2 s | Yes |
| Spectral Breath | Cone, 70° | 10 m | 0.68 s | 8 s | 220% of power | Burning 4 s | Yes |
| Skull Slam | Area around itself, 7 m | 6 m | 0.79 s | 12 s | 200% of power | Stunned 1.5 s | Yes |
| Bone Barrage | Areas under up to 4 players, 3 m each | 22 m | 0.74 s | 9 s | 200% of power | — | Yes |
| Howl of the Dead | Area around itself, 10 m | 10 m | 1.07 s | 16 s | 320% of power | Slowed 3 s | Yes |
Drops
| Drop | Count | Chance per kill |
|---|---|---|
 Rare Mana Crystal /  Epic Mana Crystal /  Legendary Mana Crystal | 1 | 98% |
| Ōgashira's Tooth | ×1–3 | 30% |
 Return Crystal | 1 | 5% |
 Ōgashira's Bone Club /  Ōgashira's Skull Mask /  Ōgashira's Ribcage Cuirass | 1 | 4.95% |
 Mythic Mana Crystal (Mythic) | 1 | 2% |
 Ōgashira's Skull (cosmetic) | 1 | 1% |
| Ōgashira's Bone Club / Ōgashira's Skull Mask / Ōgashira's Ribcage Cuirass (Mythic) | 1 | 0.05% |